May 24, 2011
The recent American recession of the last 2 1/2 years had put a damper on toy-selling. The toy market on E-Bay has slowed down for myself as a seller, and buyer. It's hard to sell right now, and you have to have prices that are 40-50% less than even 6 months ago. Buying is still harder as you sometimes have to compete with others.
Anyway,with slower times, I thought that I'd add a new instalment of my blog.
2. Wear protective clothing, safety glasses and latex or non-latex gloves.
*You will have to change these gloves from time to time. The paint stripper will also eat the latex, making the paint stripper touch your skin!
3. The paint stripper will eat anything plastic such as hot and cold plastic knobs for your sink!
4. Discard used liquids and materials in a proper manner and place. Old paint that you are removing may contain lead. You will need to bring the waste to an environmentally- friendly local!


The recent American recession of the last 2 1/2 years had put a damper on toy-selling. The toy market on E-Bay has slowed down for myself as a seller, and buyer. It's hard to sell right now, and you have to have prices that are 40-50% less than even 6 months ago. Buying is still harder as you sometimes have to compete with others.
Anyway,with slower times, I thought that I'd add a new instalment of my blog.
The first thing many toy collectors will tell you is never to restore or repaint old toys!
So how come, big old cars are restored and fetch huge amounts of money? However, I digress.
With the U.S. economy* so bad right now for those affected, priority for purchasing toys is placed lower down on the importance list.
Correspondingly, it's harder for myself,as a seller, to sell. So to keep busy, and to try a different approach, I figured, what can go bad if I repaint/restore a $ 10.00 toy?
Precauctions and Safety:
1. Work in a well-ventilated area. In summer, I'll work outdoors. In winter, it's more difficult. I try and use the garage when no one is inside the house.2. Wear protective clothing, safety glasses and latex or non-latex gloves.
*You will have to change these gloves from time to time. The paint stripper will also eat the latex, making the paint stripper touch your skin!
3. The paint stripper will eat anything plastic such as hot and cold plastic knobs for your sink!
4. Discard used liquids and materials in a proper manner and place. Old paint that you are removing may contain lead. You will need to bring the waste to an environmentally- friendly local!
The procedure
1. Use masking tape: Cover the tires and areas that you don't want to paint or remove paint.
Also, this will help to try and prevent paint stripper from damaging the rubber tires.

I forgot to take a photo of paint stripper, but that's what you can use to remove old paint.
You can use steel wool to remove the slushy paint that is stripped with paint remover with rags, steel wool, toothpicks, etc.
2. Use auto body-filler to fill small nicks or broken-off pieces. For large breaks, you have to build-up the missing part in layers or the body filler will sag!


Use any brand of auto-body filler. I just went to a local car parts and purchased the brand that they had.
I'm not endorsing it. However this works.
Let the auto-body filler dry for about 2 days. Also, in the example above, place something under the "goop"because it will sag!
3. Use an abrasive material or machine (e.g. Dremmel) to grind down the excess material. Be careful, especially with large missing parts that were added with filler. You don't want to break them by using too much pressure. You can use steel wool and assorted grades of sandpaper. Very fine sandpaper can be found at hobby stores or automotive stores.

4. Use an car undercoat spray to make the paint bind to better, rather than painting just on bare metal.
These modern sprays are very good at binding with metal.
If they use them on the big cars, then surely, they're good for toys!

5. You can either hang the toy vertically or lay it on cardboard (horizontally).
Read the spray instructions, or if you prefer to paint by hand, also read the instructions.

Usually, you need to be about a distance of 1 foot or more from the toy, and spray a little bit at a time.
It's better to hang the toy with string, as the paint can be applied more uniformly.
If you apply it as I do on a horizontal surface, it's harder to spray the bottom parts of the car.
6. If you use brushes, you may need to experiment with the type of brush you need. Also, you get what you pay for, so don't use those cheap brushes! They aren't assembled well, and the paint does not transfer well from the brush to the toy body.

When hand painting, do not use too much paint! You want to apply the paint, and not have it drip or flow downwards. Also, too much paint will start to cover the fine detail of the toy, especially the die-cast toys such as Manoil or Tootsietoy.
7. There are liquids that you can buy to protect areas that you do not want to paint. Again, I've left the brand name, but any brand will do. However, it's best to go to a hobby shop to ask them their opinion.
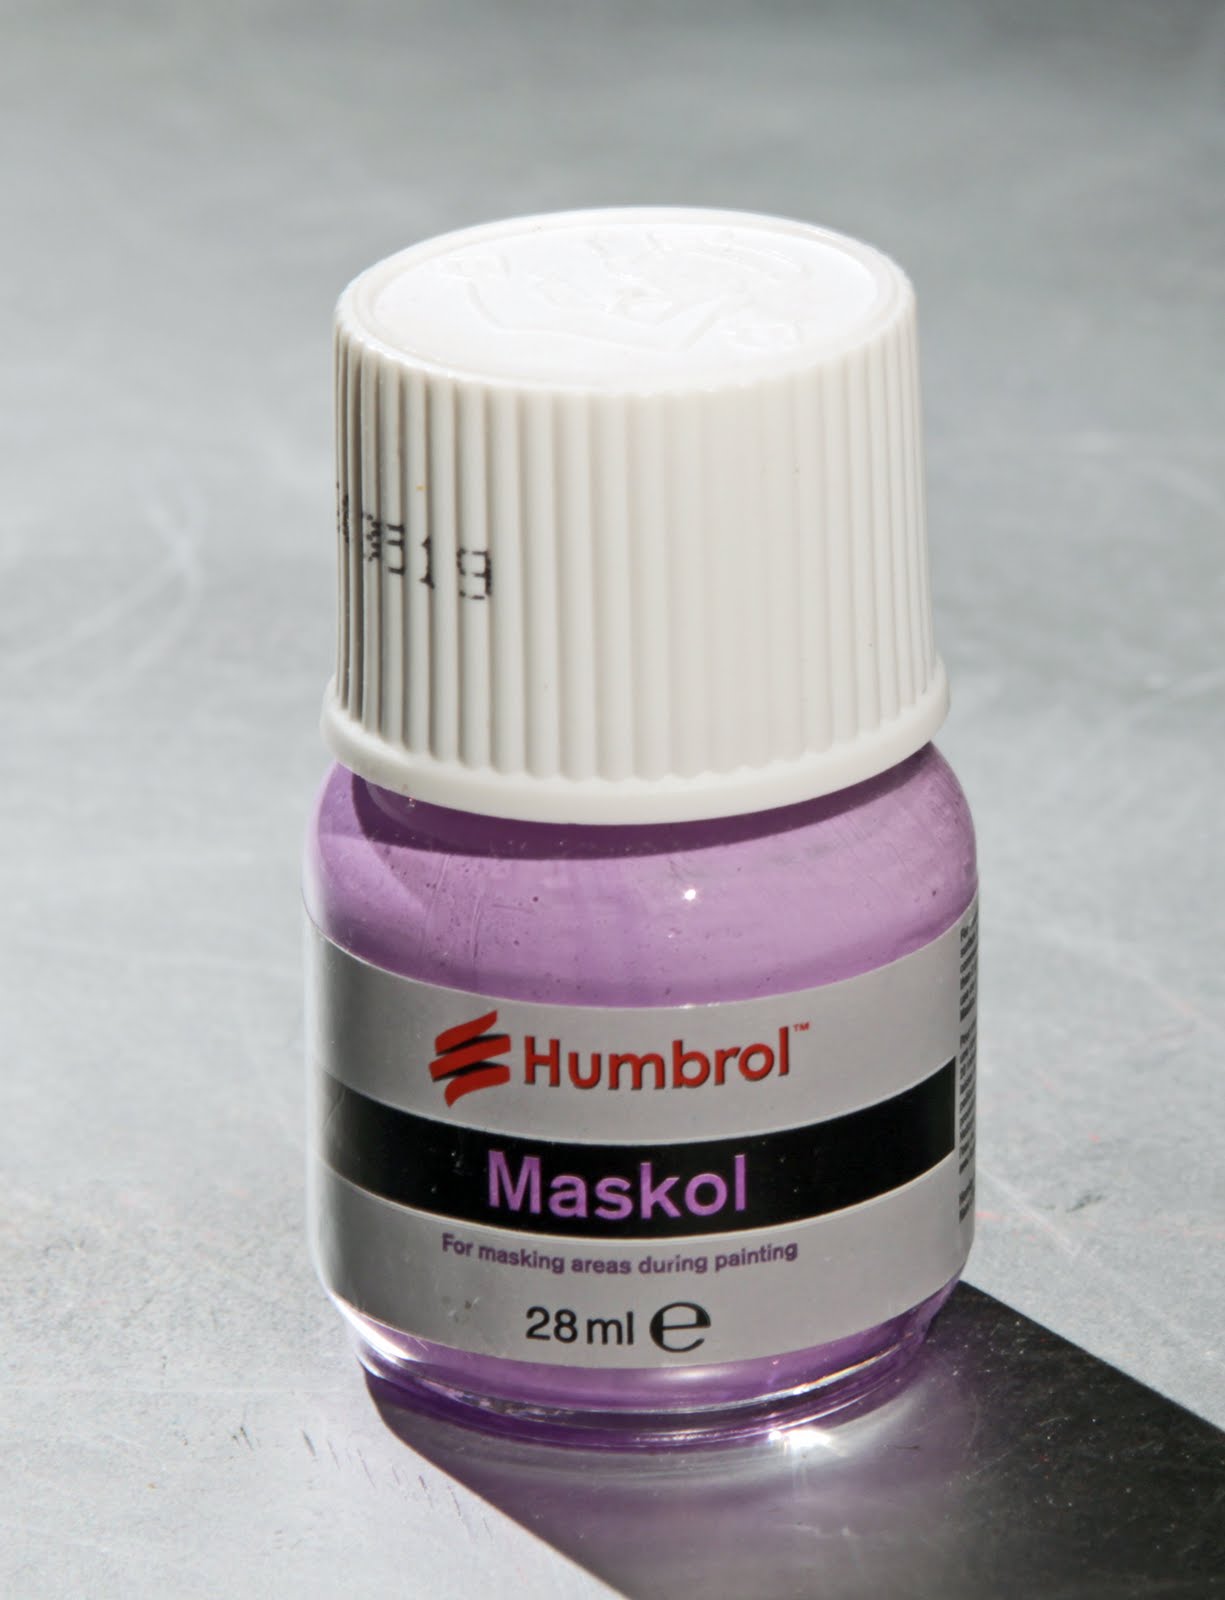
Select 1 brush and use that one exclusively (only) for application of this liquid barrier. When you are finished, it peels off like a rubber mask.
8. You won't be able to find every colour that you need, so buy some small empty bottles (at the hobby store), and experiment with getting the correct colour.

9. Of course, you'll need to find the accurate colours. With E-Bay and the Internet as resources, there are unbelievable and great people out there willing to present you with great photos of toys that have lasted all those years with their original paint!

Once I have my selected colours, I make a B & W print, and then write on the photo what colours need to be painted on what parts.
9. Hobby paints or if you use house or car paints (someone correct me if I'm in error by using these paints on old toys!) can come in gloss or matte. You may want a less-shiny finish for a particular toy. If you can't find the paint finish in matter, there are matte clear finishes that can dull a glossy surface.

10. One thing that I definitely need to purchase is an illuminated magnifying glass. Either that or buy a high-magnification pair of glasses. It's hard to see what you're doing, and you may think what you've done is great with "your naked eye". However, if you photograph the toy, you'll see all of the imperfections.
Finally, let the paint "cure". That simply means, letting it dry for several days or weeks in order for the paint resins to harden. Also, I prefer several coats of paint. I figure the more paint, then the harder it is for the paint to chip off.

So, thanks for visiting, and if you have any information, suggestions, or comments, simply e-mail me.
Have a nice day,
SB


