July 31, 2012
Summer Sure is Going By Fast!


 I
I

 This is a close-up of the rear light contact.
Summer Sure is Going By Fast!
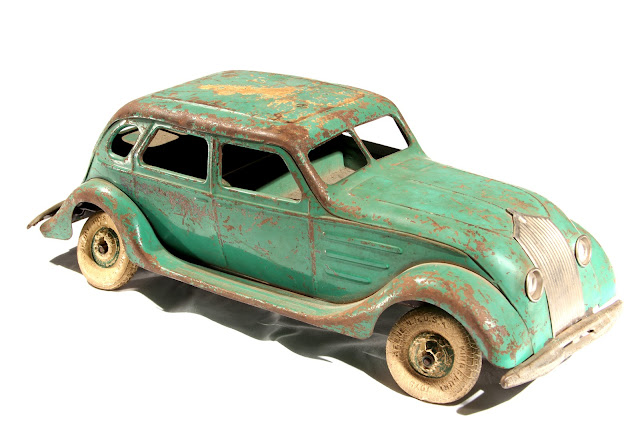
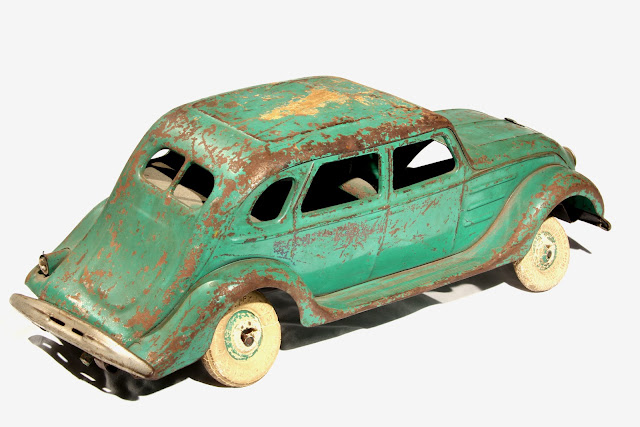
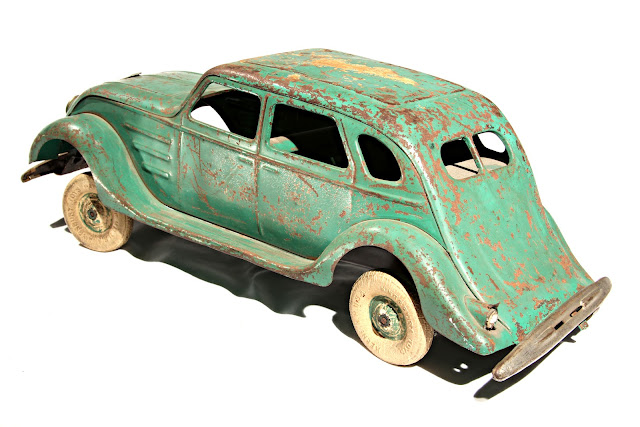
Another Kingsbury Car
You're probably wondering why I'm not writing. The answer is that toy selling at this time of year is slow, and so I'm trying to sell and not buy. However, I didi manage to purchase today's car a few weeks ago, and it arrived last week.
I'll add the weight and dimensions at another time.


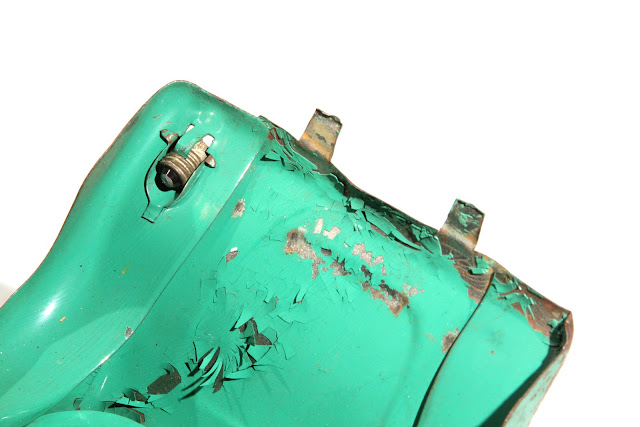
This car looks worse than it is.
It's an easy restoration, but I'm going to leave it to someone else.
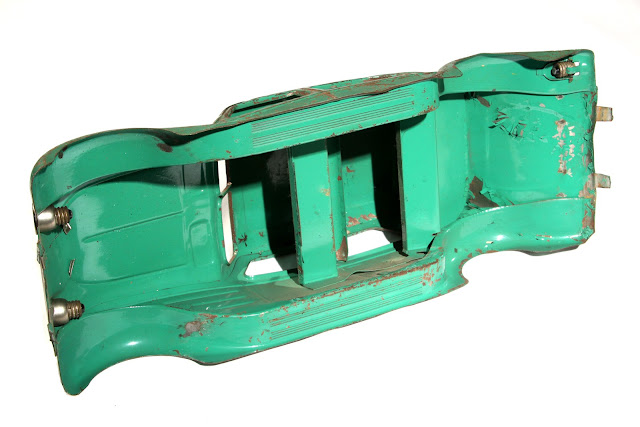
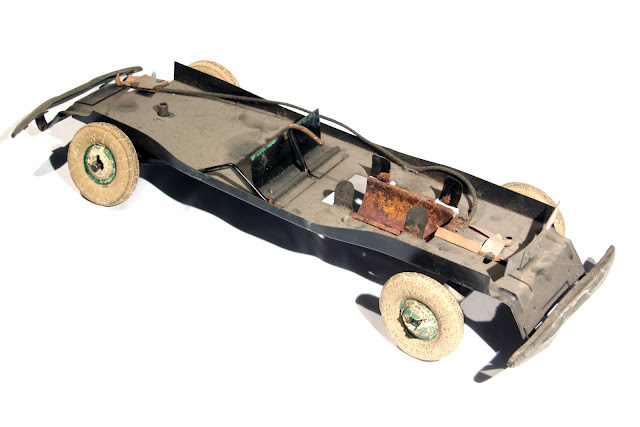
I've never taken this toy apart to see its inner parts and how the electric wiring works, so I decided to do so.

I was surprised at how simple the electrical circuitry is.
 I
I
The lightbulbs are simply screwed into the parts that are attached to the car chassis.

The rear brake light or warning light (for night time) is attached or fitted in the same way as the headlights.

In terms of the inside of the car, the electrical circuitry is also quite simple.
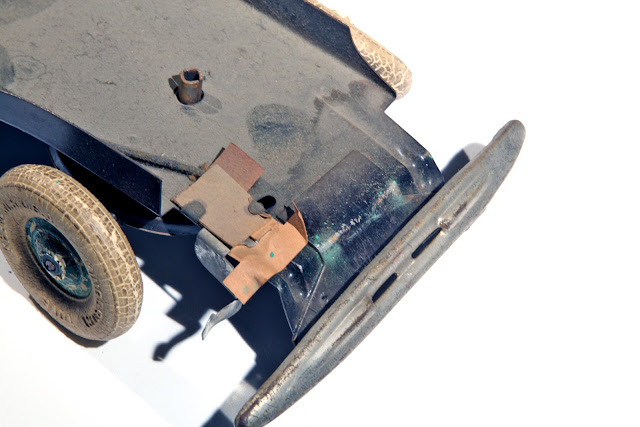
That rusted hook abutting against the right-angled bend of flat metal is the "on/off switch". The rusted semi-circular piece of metal is where a size-D battery goes.

A Closer Look.

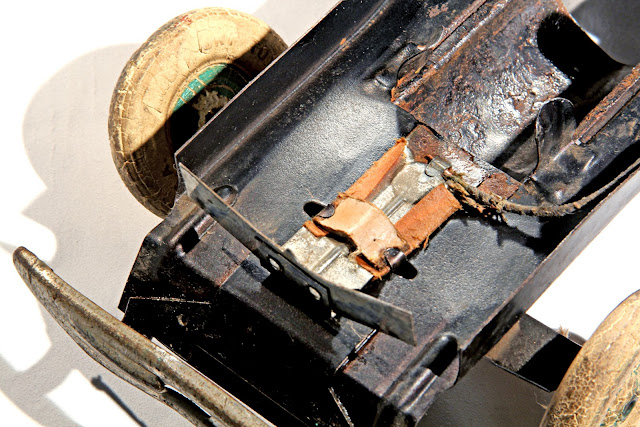
The rear contact for the brake or warning light.

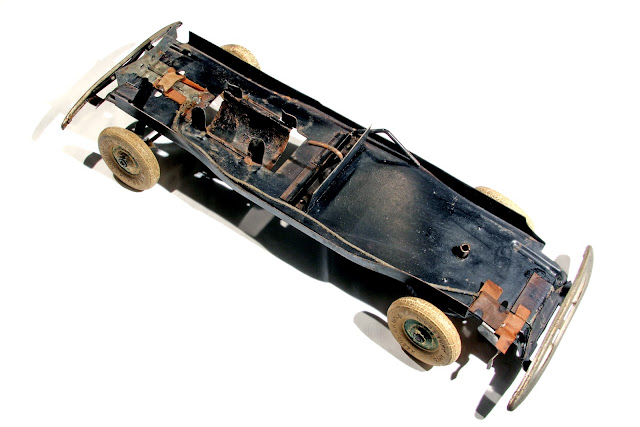
I cleaned and wire-brushed the interior of the car.
I'm going to add a rear light and then when everything is dry, I'll assemble the toy and test to see if the lights work.

A Closer Look.I wire-brushed the inside in order to remove much of the rust, and to expose the wire to its inner contact surface.
 This is a close-up of the rear light contact.
As you can see, the design is quite simple!
If you read my instalment about the blue Kingsbury car that I wrote about, you'll know that the Keene Company that made the cars is still in business. The "bad news" for toy antique collectors is that they no longer manufacture toys!
As always,thanks for dropping buy to read my blog.
If anyone out there has photos and would like to write an instalment to post here, by all means please write. It's slow inthe summer, and I can surely use some help.
Have a nice morning, afternoon, or evening,
wherever you may be.


